Getting started: Step by step
In this article we will explain step by step on how to create Joomla articles using Form2Content. As an example we will be creating a simple BLOG. The example will work for both F2C Lite and Pro!
The first and most important is to think about what type of article (content) you want to create. In this example we will be making a blog. For each blog article I want my user to be able to add an introduction text, the article text, a source URL and an image. I will be saving the new blog articles in a Joomla category.
Step 1: Where do you want to save your Joomla articles?
With Form2Content you will be creating Joomla articles. These need to be saved in a Joomla category in order to be able to show them on the website. In the Joomla category manager, create a category called Blog articles.
Joomla back-end admin menu: content >> category manager
Step 2: Define a new Content Type called Blog articles.
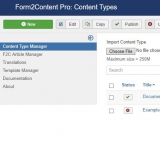
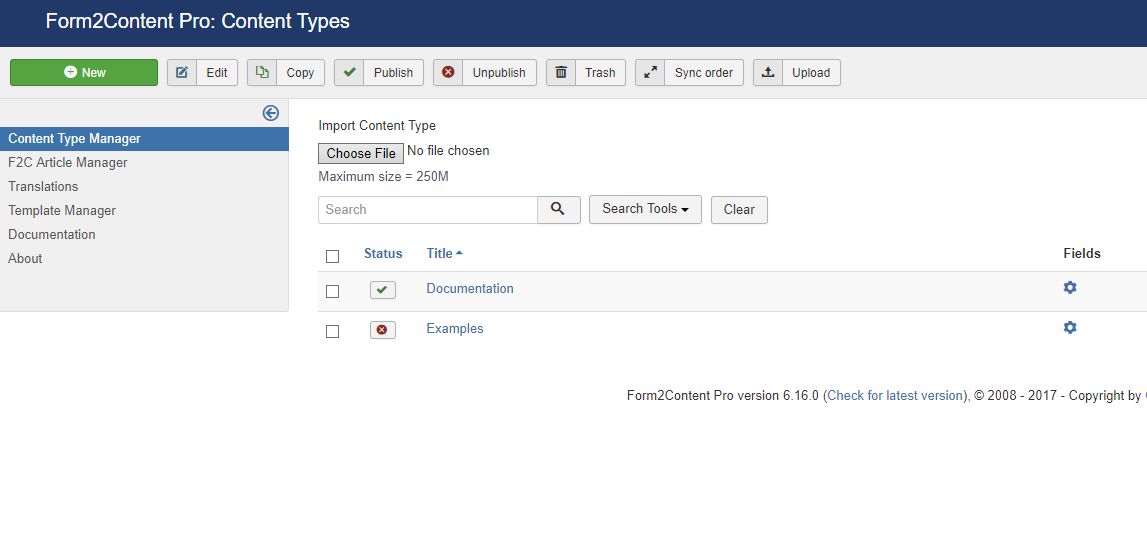
Our type of content we will be generating in this case are blog articles. In the Content Type we will define default settings and values. Think of the title of the form, who has permissions to add or edit the articles. In the Joomla back-end navigate to the Form2Content Content Type Manager.
Menu: Components >> Form2Content >> Content type manager
Create a new F2C Content type by clicking on the new button. Call it Blog articles and save it. Back in the content type manager immediately publish the content type.
You can come back later to the Content Type configuration provide the (display) settings for the front-end form and link to our custom template.
Step 3: Defining the Joomla article fields first
In order to create the Joomla article we will be collecting data using fields in our article form.
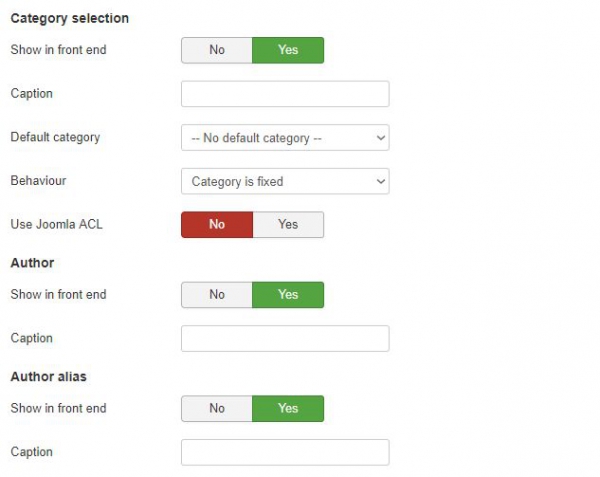
In the Content Type Manager click on the fields button (second column) next to the just created content type: Blog articles. This will bring you to the field manager. In the field manager Form2Content has already genereated all the default Joomla fields like title, category, publishing options etc.
Go through the different fields and see the option. You can set that new articles are published immediately, the default language etc.
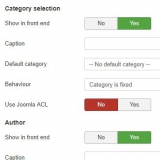
IMPORTANT: In order to be able to save your article you need to configure the category field. In it select in which category you want to save your created Joomla articles.
In F2C PRO you can also set ACL based selection, child selection of a category or set a default category and hide the field from the form.
Step 4: Add your custom fields for your blog
Since we are preparing blog articles we will want to add more content and need to think which fields we need for this. For our example we will add our custom fields below. Please follow the links for more information on the settings of the individual fields.
Intro text (text area field type with max. 200 characters) Field name = intro_text
Main text (text area field type with max. 1000 characters). Field name =main_text
Intro image (image field) Field name = intro_image
Source url (text box field) Field name = source_url
For the image field, set the image size and make sure you have set the output to RAW!
In F2C Pro you can also define the thumbnail size.
Having added the custom fields to your form, it is time to create the layout of the article. Save your fields, order them if you like and go to the F2C template manager.
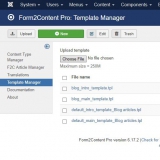
Step 5: Create your F2C article template
The Form2Content Article Templates are used to make sure all articles look the same and that the data submitted in the forms ends up in the Joomla article.
Menu: Components >> Form2Content >> Template Manager
Article Templating is where the real power lies:
- Define the layout in normal, simple HTML.
- Add the placeholders through so called "template parameters" in the layout.
- Add possible content effect though plugin syntax. Think of tabs, sliders, Google maps, modals, slideshows etc.
- Add logic using our simple Smarty Templating system. Think if/than/else options.
In this example we want to create a layout for the article in the Joomla category blog view (intro template) and a layout for the full article (main template).
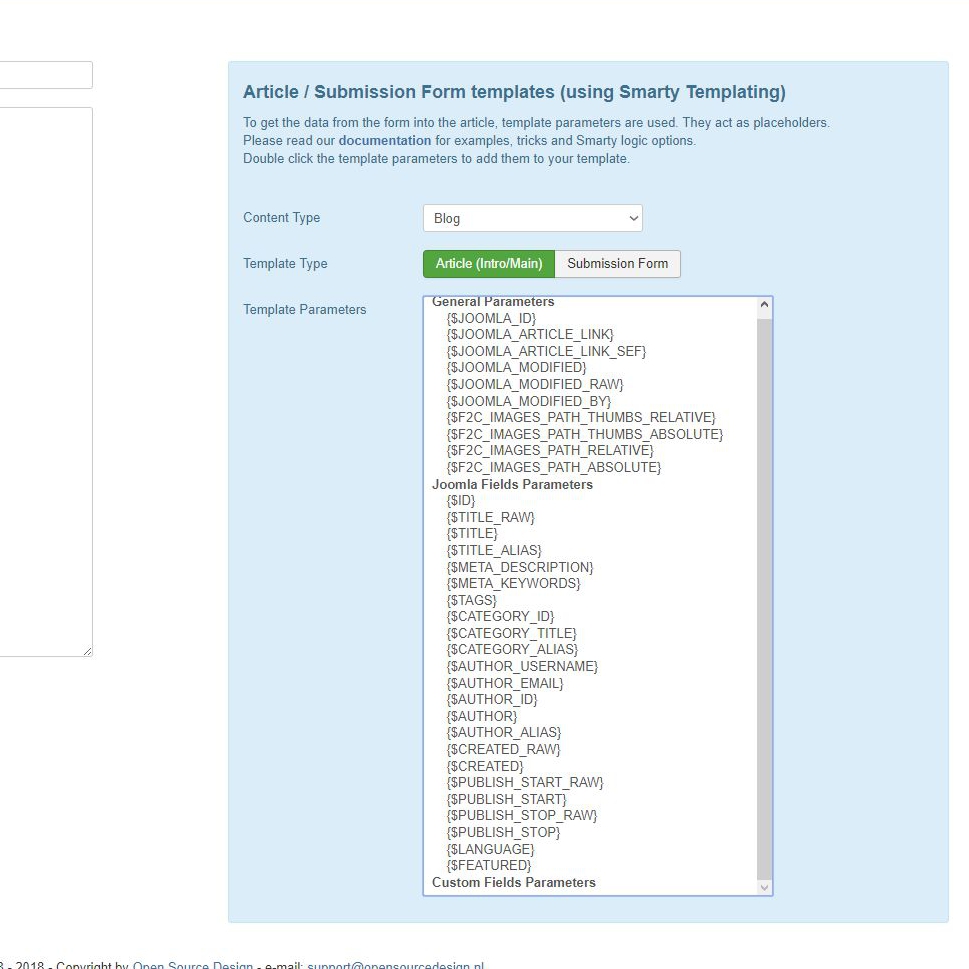
Step 1) Navigate to the F2C Template manager (image 3).
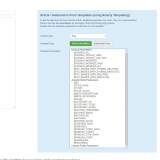
Step 2) Create a new intro template. Call it for instance my_intro_template. In the right column (image 4) you can select your content type and see the available template parameters. Double click them to add them in your template. You can add your custom html around the added template parameters.
Example: Intro template could be as simple as:
<div class="f2c_intro">
{if $INTRO_IMAGE}
<img src ="{$INTRO_IMAGE}" align="right" alt="{$JOOMLA_TITLE}" />
{/if}
<p>{$INTRO_TEXT}</p>
</div>
Step 3) Create a new main template. Call it for instance my_main_template. Repeat the steps from above and make sure you add at least the {$MAIN_TEXT} template parameter in your layout.
Example: main template:
{if $MAIN_TEXT}
<div class="f2c_main">{$MAIN_TEXT}</div>
{/if}
{if $SOURCE_URL}
<br/>
<a href ="{$SOURCE_URL}" target="_blank">Article source</a>
{/if}
Please note that there is an extra space after the = in the src & href tags.
IMPORTANT: At no point should you add the Joomla read more tag! Please read this article to understand why.
Step 6: Link the content type to your custom article templates
Since we created our own article layout (templates) we need to make sure that the articles are created using our custom templates. In the F2C Content Type Manager, click on the fields button (second column). Find the two fields called intro template and main template, edit them and select the templates you created. Finish by clicking on save!
Step 7: Test: Create an article via the back-end F2C Article Manager
Go to menu: components >> Form2Content (pro) >> F2C Article Manager
The F2C Article manager is almost identical to the Joomla one but instead of displaying a WYSIWYG editor when editing an article we display your custom form.
Part 1) Click on NEW and select from the drop-down the content type you want to create an article for.
Part 2) Fill out the form (article content), upload images etc.
Part 3) Check that the F2C template selection are pre-filled in the head of the article. If not you can add them here but don't forget to set them in the Content Type Configuration.
Part 4) Select a Joomla category where the article will be saved
Part 5) Save and publish.... only on publish will an actual new Joomla article be created.
Possible errors (on save and on publish): No category selected, no templates selected (on publish), Smarty errors in your template (might result in blank screen if you don't have error reporting).
Check: It's always possible to go to the Joomla article manager (JAM) and find the F2C created article. Please note that when you edit the article in the JAM, the editor can make changes to the html. Simply re-publish the article in the F2C article manager to undo any changes.
Step 8: Display the created Joomla articles
Since F2C creates Joomla articles in Joomla categories the easiest way to display them is to create a menu link (category blog layout) to the category where you save your articles.
The number of articles (and names) are unknown, you cannot link to the articles themselves untill they have been created! That's why a category blog layout menu link is easiest to use. Now the articles will just appear as they are created (with F2C).
Step 9: Create a menu link to the front-end F2C article manager
In both F2C Lite and Pro we can make a menu link to the F2C Front-end article manager. In general but especially F2C Pro, the front-end article manager is simplified making article submission even more easy. You also don't have to give visitors/clients back-end permission.
We recommend 'registered' user permission for F2C front-end article manager. If you wish to provide guest access we suggest you use Captcha (Pro only) and default unpublised settings.